

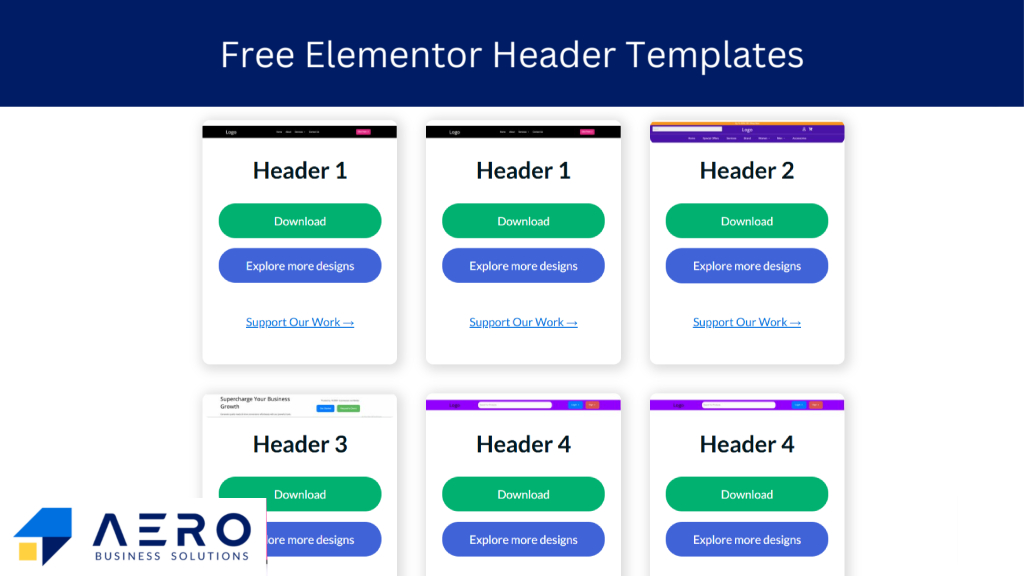
Download Free Elementor Header Templates
Start your next project with beautifully designed, responsive, and conversion-focused headers — all fully customizable with Elementor Page Builder.










Want More? Get the Full Pack of 25 Premium Header Templates
You’ve just unlocked a free sample — now imagine having 25 professionally designed, high-converting headers ready to use on any project.
These premium templates are:
-
Fully customizable with Elementor
-
Optimized for speed, SEO & conversions
-
100% responsive on all devices
Save hours of design work and elevate every page you build.










Take Your Designs to the Next Level
You've seen what our free headers can do — now imagine unlocking the entire collection of 25 premium header templates built to convert, impress, and perform.
With the Premium Bundle, You Get:
-
25 stunning, ready-to-use headers for any website or niche
-
Seamless integration with Elementor & other page builders
-
Optimized for speed, SEO, and mobile responsiveness
-
Perfect for freelancers, agencies, and serious creators
Stop wasting time designing from scratch. Start with headers that work.
























How to Download and Use Elementor Header Template Files
Step 1: Download the Header Template File
Access the Download Link:
After completing your purchase, check your email for the download link to your Elementor header template.
Download the File:
Click the download icon (usually in the top right corner) to save the .json file of the header template to your computer.
Step 2: Install Required Plugin
Install “Ultimate Addons for Elementor”:
This header template requires the plugin Ultimate Addons for Elementor (by Brainstorm Force).
To install it:
-
Log in to your WordPress dashboard.
-
Go to Plugins > Add New.
-
Search for “Ultimate Addons for Elementor”.
-
Click Install and then Activate.
Note: In some cases, this plugin might be listed as Elementor – Header, Footer & Blocks Template by Brainstorm Force.
Step 3: Import the Header Template
Navigate to Templates:
From the WordPress dashboard, go to Appearance > Header Footer Builder (provided by the plugin).
Create a New Header:
Click Add New and select Type: Header. Give it a name (e.g., “Main Site Header”).
Import the Template File:
-
Inside the editor, click Edit with Elementor.
-
In the Elementor editor, click the folder icon to open the My Templates library.
-
Click the Import Templates button at the top.
-
Choose the
.jsonfile you downloaded earlier or drag and drop it into the upload area. -
Once uploaded, click Insert to apply the template to the header.
Step 4: Assign Display Conditions
Once your header is imported and inserted:
-
Exit back to the Header Footer Builder settings.
-
Scroll to the Display On section.
-
Choose where you want this header to appear (e.g., Entire Website, Only Homepage, Specific Pages).
-
Set the User Roles if needed.
Click Publish to activate your custom header site-wide or on selected pages.
Step 5: Customize & Save
After inserting the template, you can fully customize it using Elementor’s drag-and-drop editor. Adjust logos, menus, styling, and responsive settings as needed.
Once you're happy with the changes, click the “Update” button to save your customized header.
That's it! You've successfully downloaded, imported, and activated your Elementor header template using Ultimate Addons for Elementor.
